

这是一个创建于 3061 天前的主题,其中的信息可能已经有所发展或是发生改变。
叮当 是一款可以工作在 Raspberry Pi 上的开源中文语音对话机器人 /智能音箱项目,目的是让中国的 Hacker 们也能快速打造类似 Amazon Echo 的个性化的智能音箱。
由于叮当是完全开源的,编写插件来满足自己的个性化需求就成了使用叮当的最大乐趣。您可以自由地接入自己需要的服务,让叮当更好的为您服务。
这篇文章将一步步教你如何编写一个天气插件,并最终发布到 dingdang-contrib 中。
交互示例:
- 用户:天气
- 叮当:深圳天气。今天:晴。最高气温:25 ~ 30 摄氏度;明天:晴。26 ~ 31 摄氏度;后天:小雨。最高气温:23 ~ 29 摄氏度。
准备工作
安装 dingdang-contrib
首先需要确保您已安装了叮当的第三方插件库 dingdang-contrib :
cd /home/pi/.dingdang git clone http://github.com/wzpan/dingdang-contrib contrib pip install -r contrib/requirements.txt sudo apt-get install sox # 用于播放音乐 sudo apt-get install libsox-fmt-mp3 # 添加 sox 的 mp3 格式支持 接下来可以在这个插件库中开发您的插件。
了解天气 API
要实现天气预报功能,少不了要了解一下天气 API。通过搜索,我找到了一款免费的天气 API 心知天气 。心知天气提供了天气、空气质量、生活指数等多种数据信息。其中逐日天气预报是免费的,可以利用来实现天气预报查询插件。
选择心知天气的另一个理由是他们的 API 文档非常详细,还提供了多种语言的 demo。下面是官方提供的一个 Python 版的示例:
import requests from utils.const_value import API, KEY, UNIT, LANGUAGE from utils.helper import getLocation def fetchWeather(location): result = requests.get(API, params={ 'key': KEY, 'location': location, 'language': LANGUAGE, 'unit': UNIT }, timeout=1) return result.text if __name__ == '__main__': location = getLocation() result = fetchWeather(location) print(result) 其中,API 是 API 的地址,逐日天气预报的 API 地址是 https://api.seniverse.com/v3/weather/daily.json ;KEY 则是心知天气的 API 密钥,每个注册账户都可以得到一个密钥;location 是城市名,例如深圳就是 深圳 或者 shenzhen;而 language 和 unit 分别表示语言和单位,由于是可选参数,这里不做详细介绍。有兴趣的朋友请阅读官方文档。
整段代码也没有什么特别好说的:先是定义了一个 fetchWeather 函数,该函数使用 requests 模块发起 API 请求,请求超时设置为 1 秒。之后调用这个函数并打印返回的结果。
编写天气插件
了解了心知天气的 API 后,编写插件就是一件水到渠成的事情了。
编写插件主要要考虑以下几个问题:
- 插件应该使用哪些关键词作为用户指令?
- 需要暴露哪些配置项?
- 如何处理用户的输入并得到需要的信息?
下面我们将在编写这个插件的过程中解决这些问题。
新建插件文件
首先在 ~/.dingdang/contrib 中创建一个新的文件 Weather.py:
# -*- coding: utf-8-*- # 天气插件 import sys reload(sys) sys.setdefaultencoding('utf8') # Standard module stuff WORDS = [] def handle(text, mic, profile, wxbot=None): """ Responds to user-input, typically speech text Arguments: text -- user-input, typically transcribed speech mic -- used to interact with the user (for both input and output) profile -- contains information related to the user (e.g., phone number) wxbot -- wechat bot instance """ pass def isValid(text): """ Returns True if the input is related to weather. Arguments: text -- user-input, typically transcribed speech """ pass 这个是插件的模板文件。一个标准的插件至少包含 WORDS,isValid 函数和 handle 函数三个部分。下面将一一介绍。
关键词设置
WORDS 是一个关键词列表,用于存储这个插件的指令关键词(的拼音)。当 Active Listening 的 SST 引擎设置成离线引擎时,这里设置的关键词会被自动添加到 PocketSphinx 的语音指令集中,从而使得 PocketSphinx 能识别出这个指令。
WORDS 的另一个作用是作为是否插件的判断标准。如果 contrib 目录中的某个 .py 文件没有 WORDS 变量,那么这个文件就会被当成无效插件,而不会响应它。
与关键词有关的还有 isValid 函数,该函数用于判断用户输入的指令是否要用这个插件来处理。如果 isValid 返回结果为 true ,handle 函数就会被调用,以处理指令。对于天气插件,关键词可以设置为天气,即只要包含“天气”的输入都使用本插件做处理。因此,可以将 WORDS 和 isValid 函数改写成:
... WORDS = ["TIANQI"] ... def isValid(text): """ Returns True if the input is related to weather. Arguments: text -- user-input, typically transcribed speech """ return u"天气" in text handle 函数实现
接下来需要实现 handle() 函数。
def handle(text, mic, profile, wxbot=None): """ Responds to user-input, typically speech text Arguments: text -- user-input, typically transcribed speech mic -- used to interact with the user (for both input and output) profile -- contains information related to the user (e.g., phone number) wxbot -- wechat bot instance """ pass 这个函数接收四个参数:
text是 STT 识别到的用户指令;mic是麦克风和喇叭模块,最常用的是通过调用mic.say()函数来让喇叭说话;profile是用户配置信息,它是一个字典,记录了~/.dingdang/profile.yml的全部内容;wxbot是一个微信机器人实例,可以利用它给用户发送微信消息。Camera 插件提供了通过微信发送照片给用户的例子。
我们可以把心知的 Demo 给出的 fetchWeather 函数做一点调整,放进代码中方便复用:
def fetch_weather(api, key, location): result = requests.get(api, params={ 'key': key, 'location': location }, timeout=3) res = json.loads(result.text, encoding='utf-8') return res 显然,KEY 和 location 应该作为用户的配置项,允许用户在配置文件中进行设置。因此我们可以在 profile.yml 配置文件中添加如下配置:
# 天气 # 使用心知天气的接口 # https://www.seniverse.com/ weather: key: 'etxzx9abupxplhic' # 心知天气 API Key location: '深圳' 接下来在 handle 函数中调用 fetch_weather 函数,得到天气信息:
def handle(text, mic, profile, wxbot=None): """ Responds to user-input, typically speech text Arguments: text -- user-input, typically transcribed speech mic -- used to interact with the user (for both input and output) profile -- contains information related to the user (e.g., phone number) wxbot -- wechat bot instance """ logger = logging.getLogger(__name__) # get config if 'weather' not in profile or \ not profile['weather'].has_key('key') or \ not profile['weather'].has_key('location'): mic.say('天气插件配置有误,插件使用失败') return key = profile['weather']['key'] location = profile['weather']['location'] WEATHER_API = 'https://api.seniverse.com/v3/weather/daily.json' try: weather = fetch_weather(WEATHER_API, key, location) logger.debug("Weather report: ", weather) if weather.has_key('results'): daily = weather['results'][0]['daily'] day_text = [u'今天', u'明天', u'后天'] respOnds= u'%s 天气:' % location for day in range(len(day_text)): responds += u'%s:%s,%s 到%s 摄氏度。' % (day_text[day], daily[day]['text_day'], daily[day]['low'], daily[day]['high']) mic.say(responds) else: mic.say('抱歉,我获取不到天气数据,请稍后再试') except Exception, e: logger.error(e) mic.say('抱歉,我获取不到天气数据,请稍后再试') 完成后,可以重启下叮当,看看插件是否能正常工作。
发布插件
插件正常工作后,可以将该插件发布到 dingdang-contrib ,让更多人用上您的插件。
首先先访问 dingdang-contrib 的 Github 主页 ,点击右上角的 [ fork ] 按钮,将仓库 fork 到自己的账户。如果之前已经 fork 过,这一步可以跳过。
fork 完仓库后,在您的账户下也会有一个 dingdang-contrib 项目,点击绿色的 [ Clone or download ] 按钮,记下新的仓库的地址。

之后在树莓派中执行如下命令,添加新的仓库地址:
cd ~/.dingdang/contrib git remote add mine 新的仓库地址 将新建的插件提交推送到您的 dingdang-contrib 仓库中:
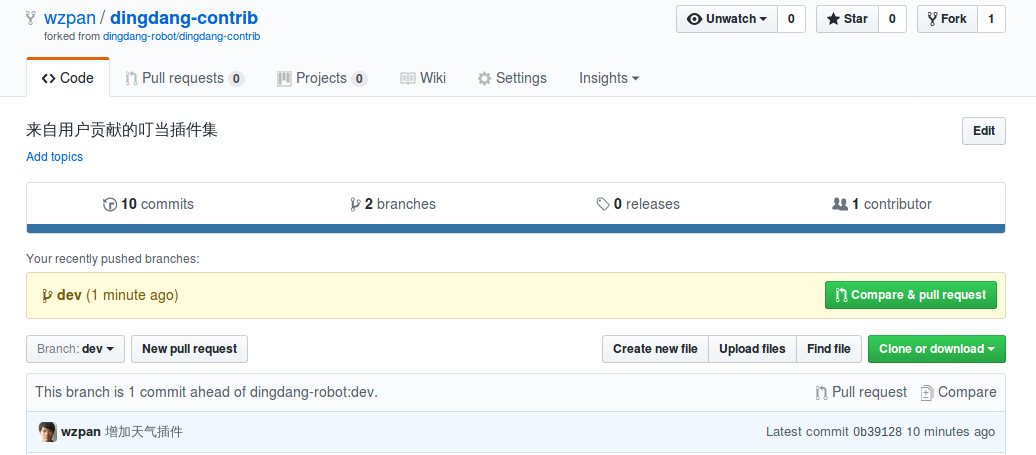
git add Weather.py git commit -m "新增天气插件" git push -u mine master 完成后访问您的 dingdang-contrib 仓库主页,可以看到一个创建 pull request 的提示:
点击 [ compare and pull request ] 按钮,进入 pull request 创建页面,申请将您的改动合并到 dingdang-contrib 项目中:
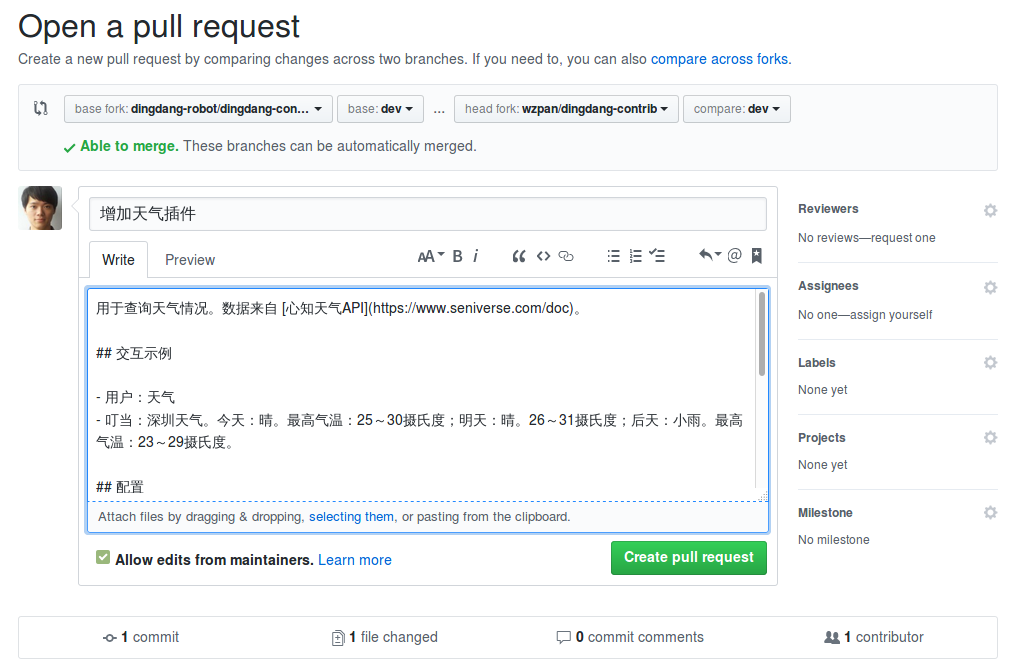
在里头认真填写插件的用途、使用示例和配置项。完成后点击 [ Create pull requset ] ,完成创建,等待 dingdang-robot 组织的审核。
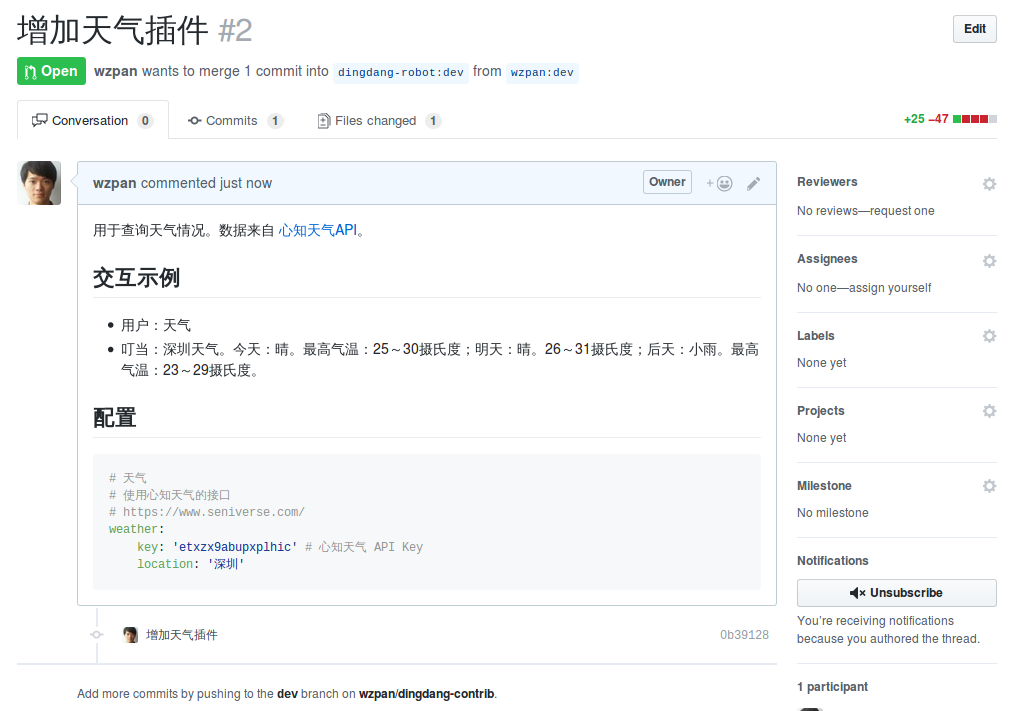
一旦审核通过,您的插件就发布成功了。
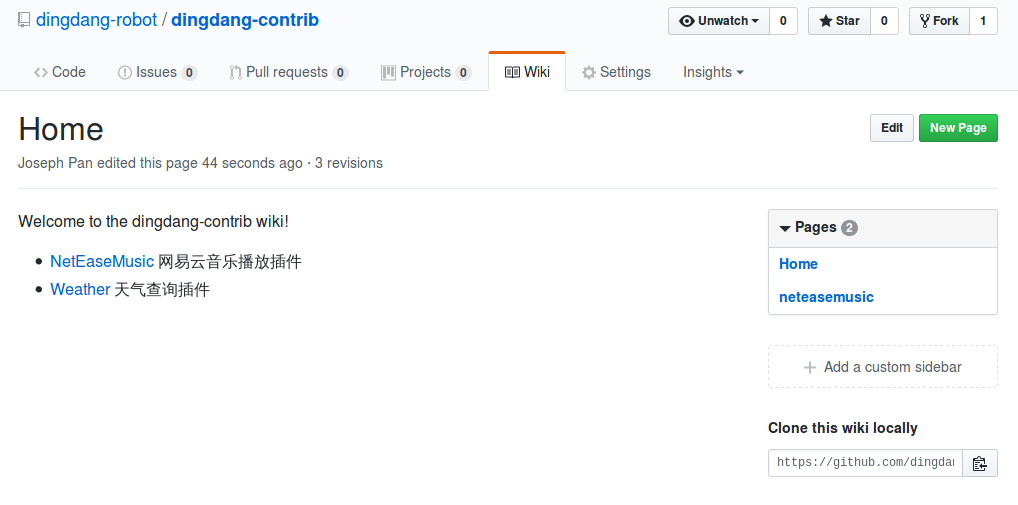
为了让更多人了解您的插件的用途,还应该到 dingdang-contrib 的 Wiki 中添加该插件的用途。先在首页中增加一条插件记录:
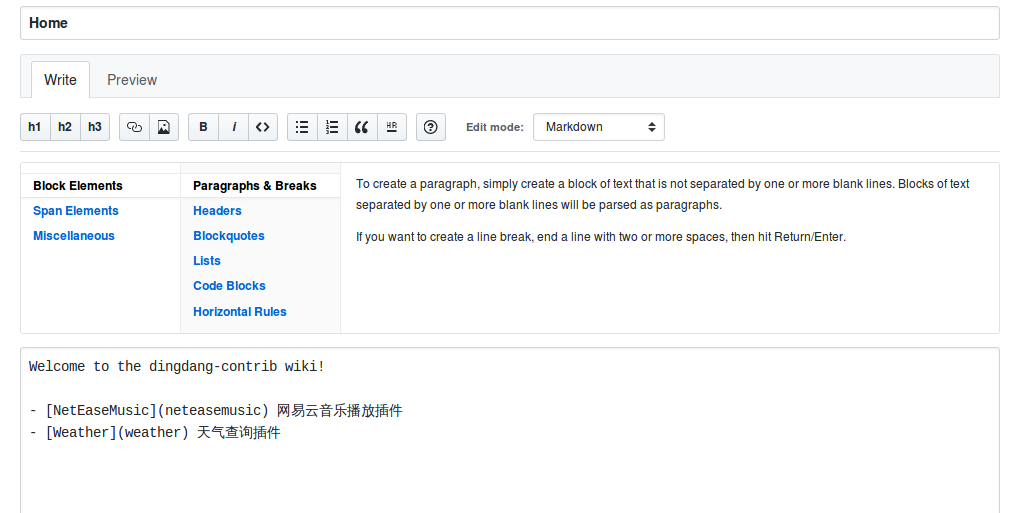
完成后首页就增加了您创建的插件的记录:
点击该插件的链接,进入插件详情页创建页面,填入和刚刚创建 pull request 时相同的内容,即插件的用途、使用示例和配置项即可(也可以根据需求增加更多信息)。
目前尚无回复